
In the previous post I discussed the basics of setting up the UFW firewall on a Raspberry Pi, now I’ll dig into some of the slightly more advanced features.
Numbered Rules

Every allow, deny or limit that UFW is told about is remembered as a numbered rule. To view the numbering enter:
sudo ufw status numbered
This numbering is helpful for when removing rules that have been misconfigured or are causing issues. Numbering also plays out on how rules are used – see Order below.
Removing Rules

There may come a point when you have UFW set up and then one of your devices can no longer speak to your Raspberry Pi. A quick check of status numbered and you realise that you have a rule set up incorrectly. What should you do?
Matt Hardy said it best, “Delete….Delete….Delete”.
Note the number of the rule (e.g. 13) and then type:
sudo ufw delete Rule_Number
So for this example: sudo ufw delete 13
UFW will then confirm that you want to proceed with the operation (deletion) and a tap of the Y key will see the rule deleted.
Note: Once deleted the rules renumber, so when rule 13 was deleted rule 14 then became rule 13, and rule 15 became rule 14 etc.
IP Ranges
It is okay to work with singular IP addresses, however for those using the Raspberry Pi on a secured (and trusted) network you will probably want to allow a range of IP addresses. You could enter each address manually (a little time consuming) or you could enter the network and its slash notation.
It would take a blog post to discuss slash notation, so I’m going to cheat and give the slash notation for class C addressing.

On the Raspberry Pi, open terminal and type:
ifconfig
If the network connection you use has an address starting 192. then it is class C and in the same descriptive paragraph will be a section called netmask which is the subnet mask. If the subnet mask is 255.255.255.0 (like my Pi has) then the slash notation is /24.
The line:
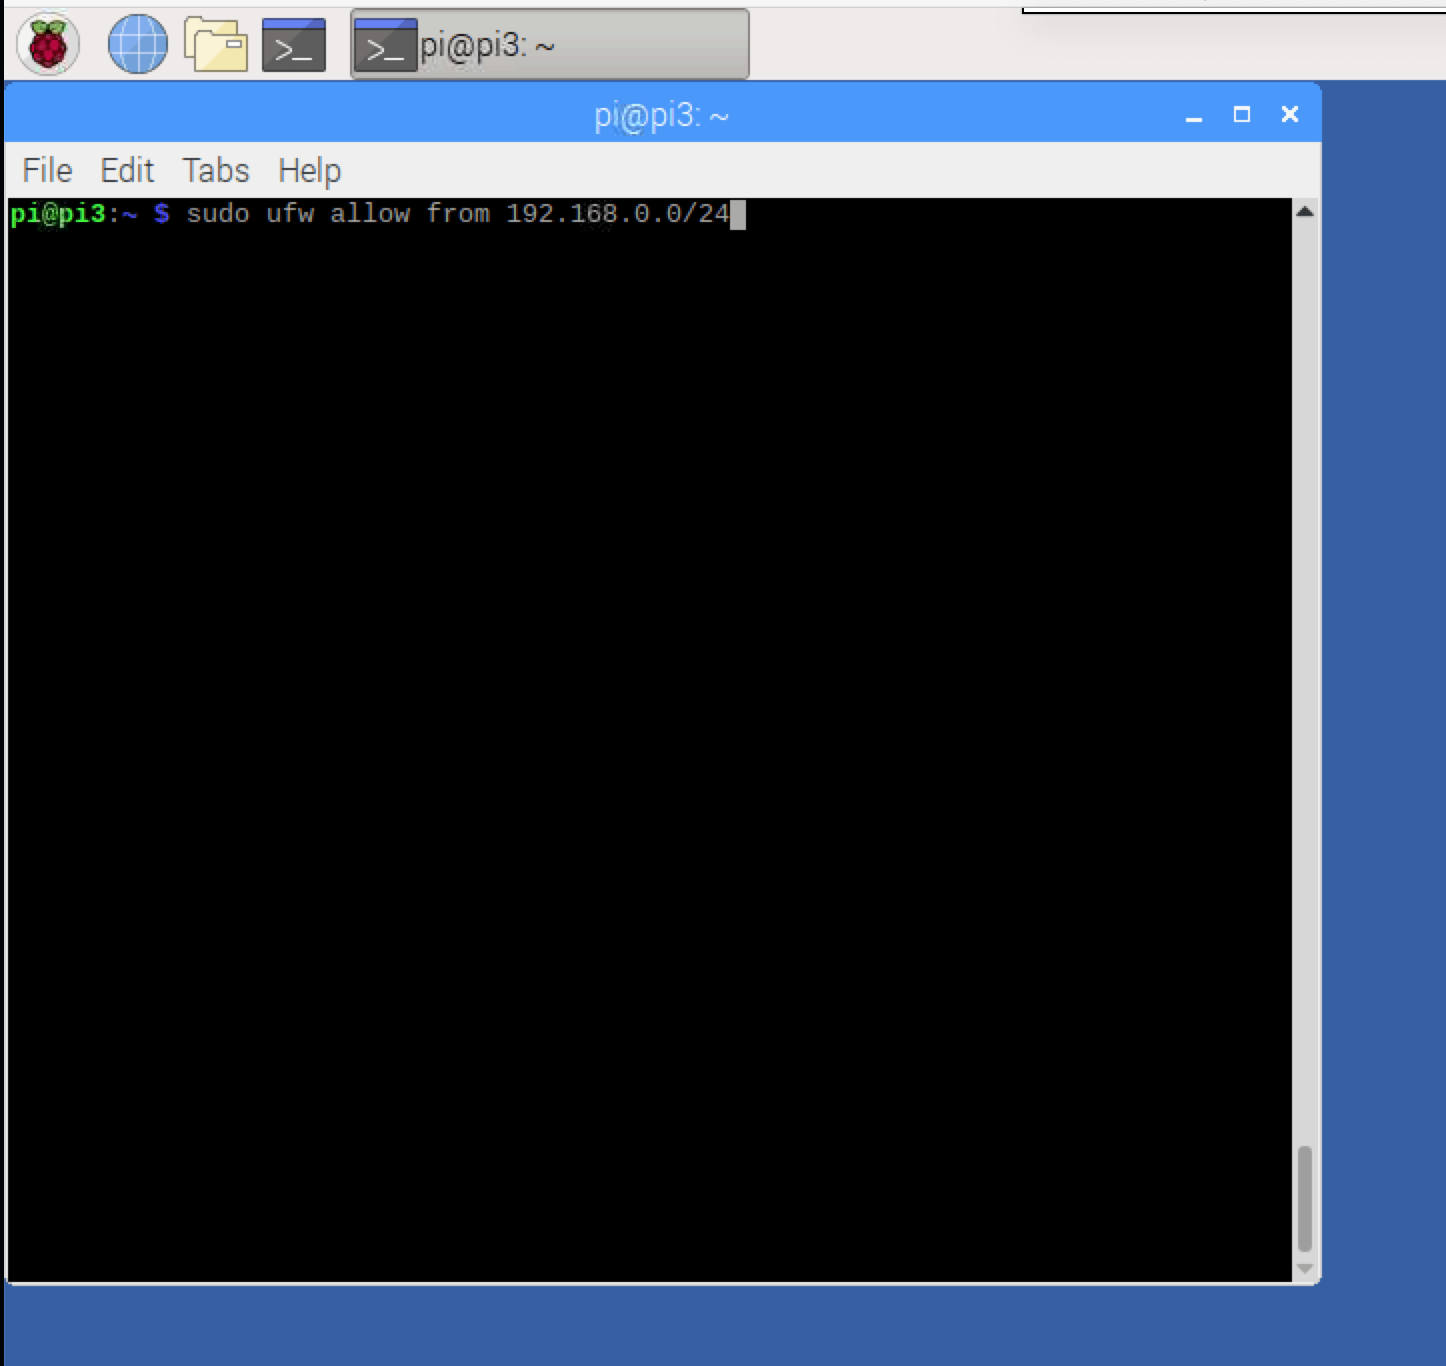
sudo ufw allow from IP_Address/Slash_Notation
e.g. sudo ufw allow from 192.168.0.0/24
Will allow all the addresses in this range (e.g. 192.168.0.1 to 192.168.0.255) to access the Raspberry Pi.
On the flip side a whole IP range can be denied access using the word deny instead of allow.
Port Ranges
Just like UFW can allow (or deny) a range of IP addresses, it can also allow (or deny) a range of ports.
sudo ufw allow 5000:5015/tcp
sudo ufw allow 5000:5015/udp
This would allow ports 5000 through 5015 for both TCP and UDP connections. Switching the word allow to deny will block connections to that port range.
Order
Imagine the situation that you have set up the firewall to block traffic from a certain IP address (perhaps a spammy host that keeps trying to connect to your SSH port) but the traffic keeps coming through. Chances are you have a rule that UFW never gets to.
If you are allowing SSH from anywhere (all address) and then several rules later blocking SSH for one address, UFW will allow the address. This is because the address matched a rule and this stops other rules processing. It is better to allow SSH from address you trust and deny (or limit) SSH from all other address further down the rule list.
Disabling UFW
If you want to turn UFW off type:
sudo ufw disable
Remember to turn UFW back on though with sudo ufw enable
Resetting UFW
If (like me) you’ve played around with UFW and realised that the rules have gotten a little out of hand you can reset everything using the line:
sudo ufw reset
This line resets the rules and disables UFW, allowing for new rules to be set up and for UFW to then be enabled.


5 responses to “Configuring A Firewall (Raspberry Pi)”
[…] an earlier blog post I looked at installing a firewall called UFW and configuring UFW. Both great for an individual system, but once I started looking at ansible I decided to see if I […]
LikeLike
[…] (like me) you are using a firewall (UFW) check that all the devices have rules that allow them to talk to each […]
LikeLike
[…] This post forms part of a series where I am looking at SSH. Want to know how to change the default SSH port? Or how to enable a firewall? […]
LikeLike
[…] recommend choosing a higher number. Remember to make sure the port number is allowed through your firewall if you have a firewall […]
LikeLike
[…] If you are using a firewall, make sure to open the relevant ports for access. If you have multiple devices that need the […]
LikeLike