
As regular readers may have noticed I use Python a lot and at times I have messed up using differing Python/module versions that did not work too well and then had to spend time unravelling my mess. There are (at least) two solutions to this type of problem:
- Python Virtual Environment
- Containerisation
Containerisation and Docker go hand in hand, and today I am going to follow up on my “How to install Docker” blog post from a while ago. In this blog post I am going to demonstrate how to create a Docker image that contains some Python.
Note: This project assumes you have Docker installed and running. If you need help with installing Docker please see “How to install Docker“.
Create A Project Folder
First up, it is recommended to create a folder to contain all the elements of the project. This keeps all the project work together in one place.
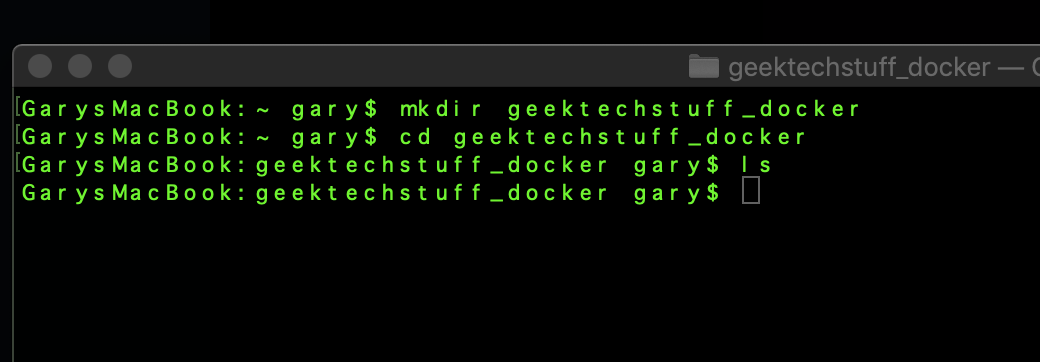
I’ve used terminal to create the folder (mkdir), then moved into it (cd) and checked that it is empty (ls). My folder is called geektechstuff_docker.
Now to add some content to the folder.

Create A Docker File
Within the folder (geektechstuff_docker in my example) create a text (.txt) file called Dockerfile. The contents of the file should contain:
# pulls down the current Python image
FROM python
# changes working directory to app
WORKDIR /app
# copies contents of the geektechstuff_docker folder to the working directory
COPY . /app
# Runs PIP and installs the modules mentioned in requirements.txt
RUN pip install –trusted-host pypi.python.org -r requirements.txt
ENV NAME world
# Opens hello_flask.py
CMD [“python”, “hello_flask.py”]

Create A Requirements File
The requirements file is going to be read by pip and needs to tell pip all the Python modules that are going to be used in the project.
My requirements.txt file contains one line as I am only using one Python module, Flask.

The Python file
I’m using a variation of Flask’s Hello World for this example, which returns “geektechstuff” rather than “Hello World”.
—

With the files in place it is time to build the Docker image.
Build Docker Image
Make sure the terminal / command line is in the project folder and type:
docker build –tag=TAG_NAME_HERE .
for example:
docker build –tag=geektechstuff_flask_hello .
Note: There is a . at the end of the command.

The image will then start to build.

Once the image is built a success message should show, and the image details should show when the docker image ls command is run.

Running The Container Image
The image can then be run using the command
docker run TAG_NAME
For my example this is:
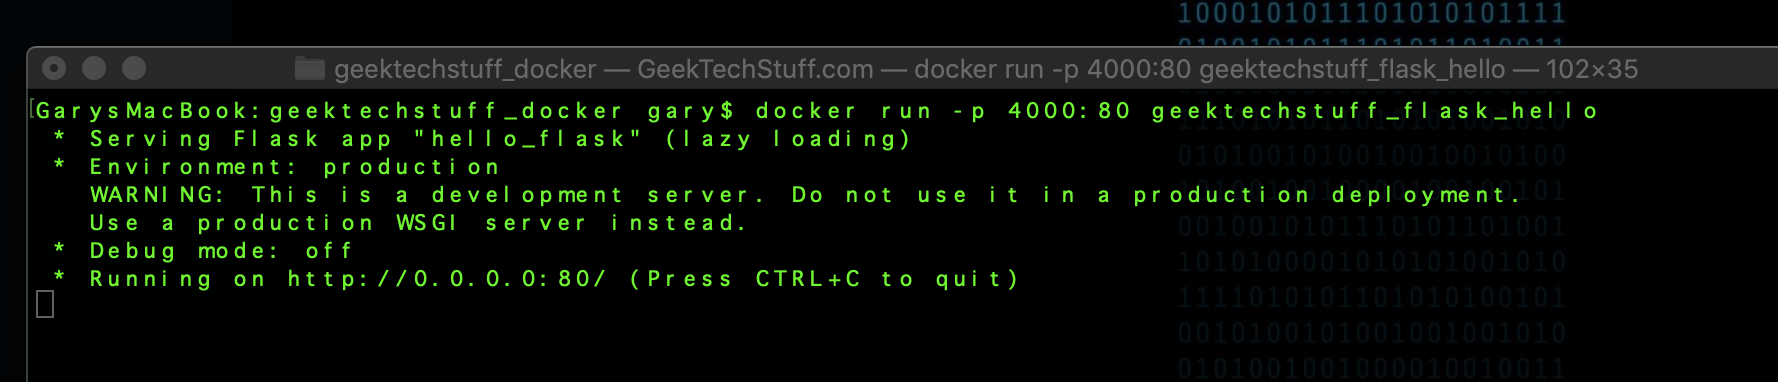
docker run -p 4000:80 geektechstuff_flask_hello

The -p 4000:80 is to tell Docker to map my hosts port 4000 to the containers port 80, as Flask needs a port to work over. If the command is successful then Flask should start showing some details in the terminal.
And just to show that Flask is working:


3 responses to “Creating A Docker Image”
[…] have created a Docker image and now it is time to share a Docker image. I created an image called geektechstuff_flask_hello […]
LikeLike
[…] and created the PDF merge tool in a Flask powered website. I’ve even created the relevant Docker file so that it can be containerised if […]
LikeLike
[…] and Docker are both powerful tools and in this blog post I aim to look at putting Ansible in a Docker […]
LikeLike