Vulnerability assessment tools are used to identify risks/threats that may cause security issues in a system. Today I am going to look at a vulnerability assessment tool from Tenable called Nessus Essentials, which can (manually or automatically) scan networks for vulnerabilities and then output reports.
Nessus Essentials
Nessus (https://www.tenable.com/products/nessus) offers a few different vulnerability assessment tools. The free option is Nessus Essentials, which can be used to scan 16 IP addresses and is a great way to get grips with a vulnerability assessment tool without spending any money.

Although it is free, nessus essentials does still require an activation code, which means registering for the product. Note: The activation code is one-use only. If you use it and need to reinstall nessus then you will need to to register again.

Installing Nessus
Nessus is available for various Linux systems, Windows and Mac OS X. The downloads for Nessus are available at https://www.tenable.com/downloads/nessus , make sure you choose the appropriate download for the operating system (OS) you want to install it on.
I am going to run Nessus on Ubuntu (Debian Linux) so I have download the .deb file. Once downloaded the file is installed using:
sudo dpkg -i Nessus-8.8.0-ubuntu110_amd64.deb
Note: The filename may change depending on when you are reading this blog post.

Installation should take a few minutes. I’m running Nessus on a virtual computer (via Virtual Box) which has 30GB disk space, 4GB RAM and 2 processors.
Once installed Nessus can be started (on Ubuntu) via /etc/init.d/nessusd start and once started the service can be reached via:
- https://localhost:8834 (if you are connecting from the computer that is running Nessus)
- https://hostname:8834 e.g. for me this is https://nessus:8834 as I have named the computer nessus (if you can resolve hosts)
- https://IP_Address_Of_Computer:8834 e.g. for me this is https://192.168.56.3:8834 (as long as you do not have a firewall blocking access, this should be accessible from other computers on the same network)
On initial connection Nessus will ask which product you want to use. This blog entry is around the free “Nessus Esssentials” but there are trial versions of the other products available if you want to give them a try.

Nessus will then ask you to create a local nessus account for use with your installed Nessus product, and will ask for the registration key created earlier in this blog post. If you did not create a registration key then do not worry as you can do it now.

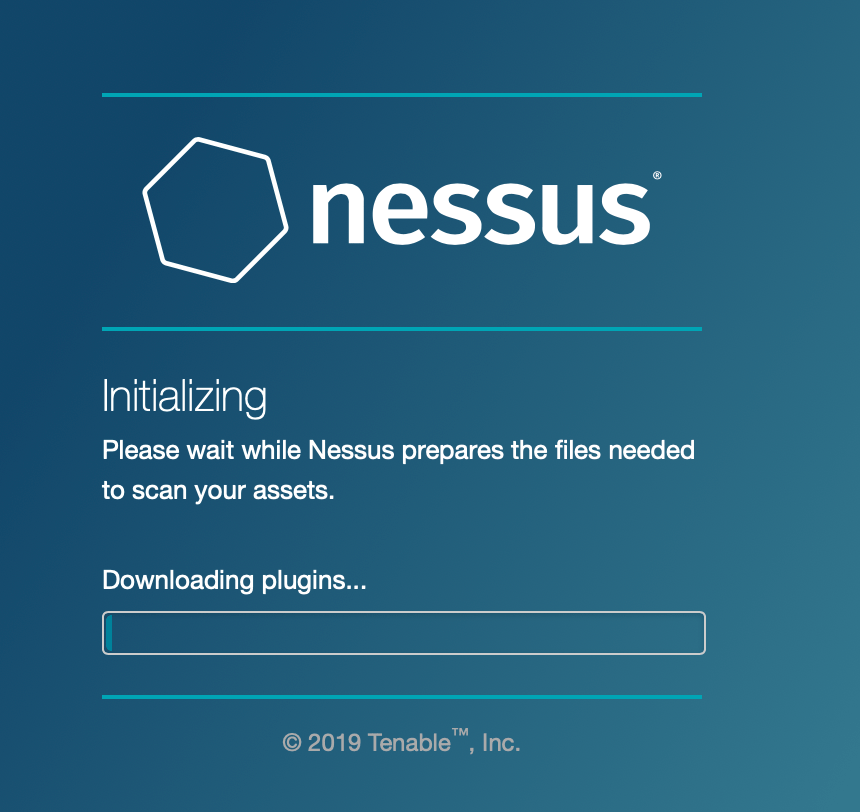
Nessus will then initialise (or initialize) and download / configure it’s plugins which can take some time depending on speed of internet connection / speed of machine etc.
Running A Scan
The various scan options are available by clicking “Scans”.

The first scan I would recommend is a “Host Discovery” as it will scan an IP range for hosts (devices) that are connected.
After this, try a “Basic Network Scan”. Nessus can take a while (depending on number of hosts, network speed etc) to report its findings but should eventually return a screen similar to the below:

The three tabs break down:
- Hosts found and their amount of vulnerabilities
- Vulnerability names and amount of each found
- History
In the top right, is the option to export the findings as CSV (Comma Separated Values) or HTML (Hyper Text Markup Language), or to publish a report in PDF format.


You must be logged in to post a comment.