
Django is a Python web framework, today I will be taking a quick look at how to install it. My recommendation is to install Django in a virtual Python environment, which my previous blog post discusses. After creating and activating the virtual Python environment, the installation of Django is done via pip:
pip install django

The installation success can be confirmed with:
python -m django –version

Django 2.1.5 is successfully installed. If the Django version number is higher for you then don’t worry, it just means you have installed a newer version.
To create a Django project type:
django-admin startproject SITENAME
Replacing SITENAME with the name you want to use for your website project. Please do not try to use a Django or Python module name for the site. In my example I have called my project test_site.

The ls command shows that Django has created a folder for the project. Moving into this folder and listing it’s contents shows manage.py and the site folder which contains the Python for your site. At this point I would recommend renaming the top level project folder to stop confusion between that and the site folder.

So what’s with all the Python .py files? Well;
Project folder:
- manage.py – A management program, this gets called on to start the site and allows management of the site.
Site folder:
- __init__.py – Tells Python that the folder containing this file is a Python package.
- settings.py – Contains all the settings for the site.
- urls.py – The list of URLs that the project uses.
- wsgi.py – The project entry point for WSGI compatible web servers.
To test that Django works navigate to the project folder and use the following command:
python manage.py runserver

The migrations can be ignored if you are using Django for testing/development (i.e. it’s not public facing). Open up a web browser and connect to http://127.0.0.1:8000 , you should be greeted with a Django page.
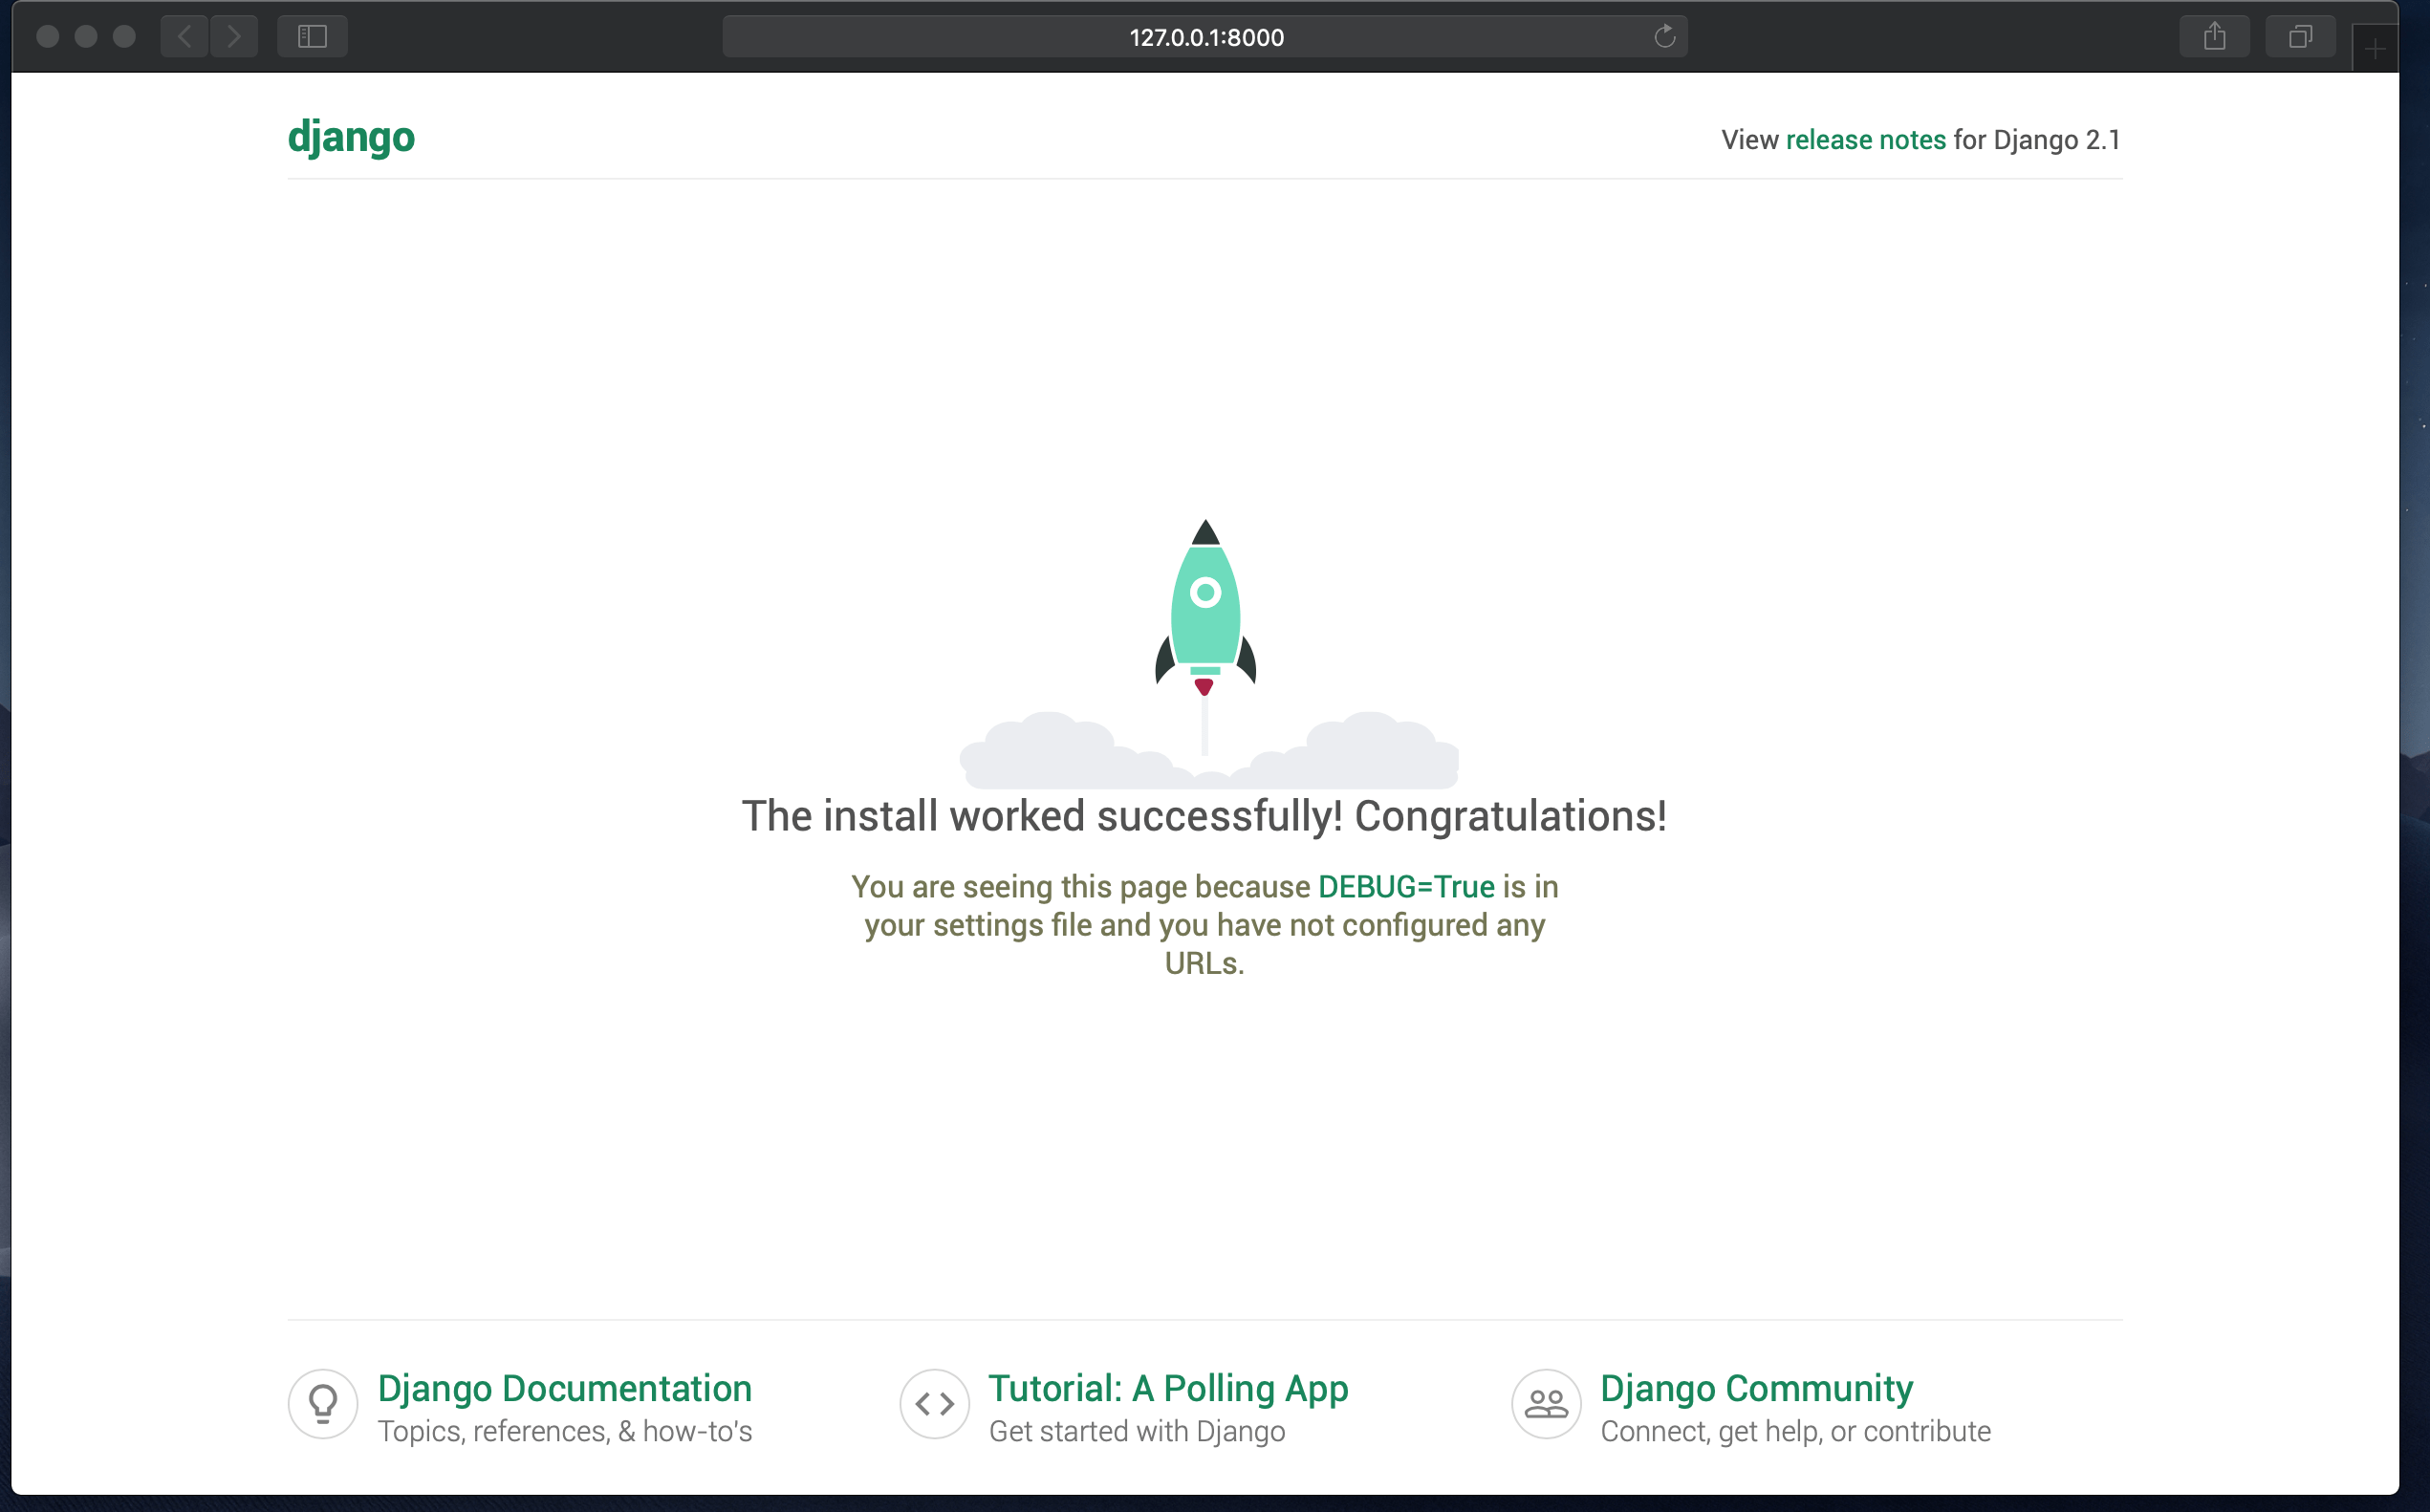
127.0.0.1 is your computers local loopback address, and 8000 is the port that the Django web server is using. This can be changed by adding an additional switch to the runserver command with the port that you want to run the server on:
python manage.py runserver 8080
The above runs the server on port 8080 rather than the default of 8000. Make sure not to use a port that is already in use by another program/application/service. To run the web server so that other computers can connect to it add 0: in front of the port number, for example:
python manage.py runserver 0:8080
Note: I would only recommend this for your internal (e.g. home or development) network, do not use this and have it open to the internet without applying some security and looking at the migrations mentioned earlier.


One response to “Installing Django (Python)”
[…] Django […]
LikeLike