
In part 1 I looked at the planning of my new Raspberry Pi / IoT project (temperature readings) and decided on the hardware to use. I already had the Raspberry Pi 3 (and appropriate microSD, power etc…) so the only thing missing was the temperature sensors.
I ordered the sensor highlighted in part 1 (BMP280 and a breakout garden pHAT) late on Thursday evening and they arrived first thing Saturday morning, which meant that I could make a start on testing the hardware.
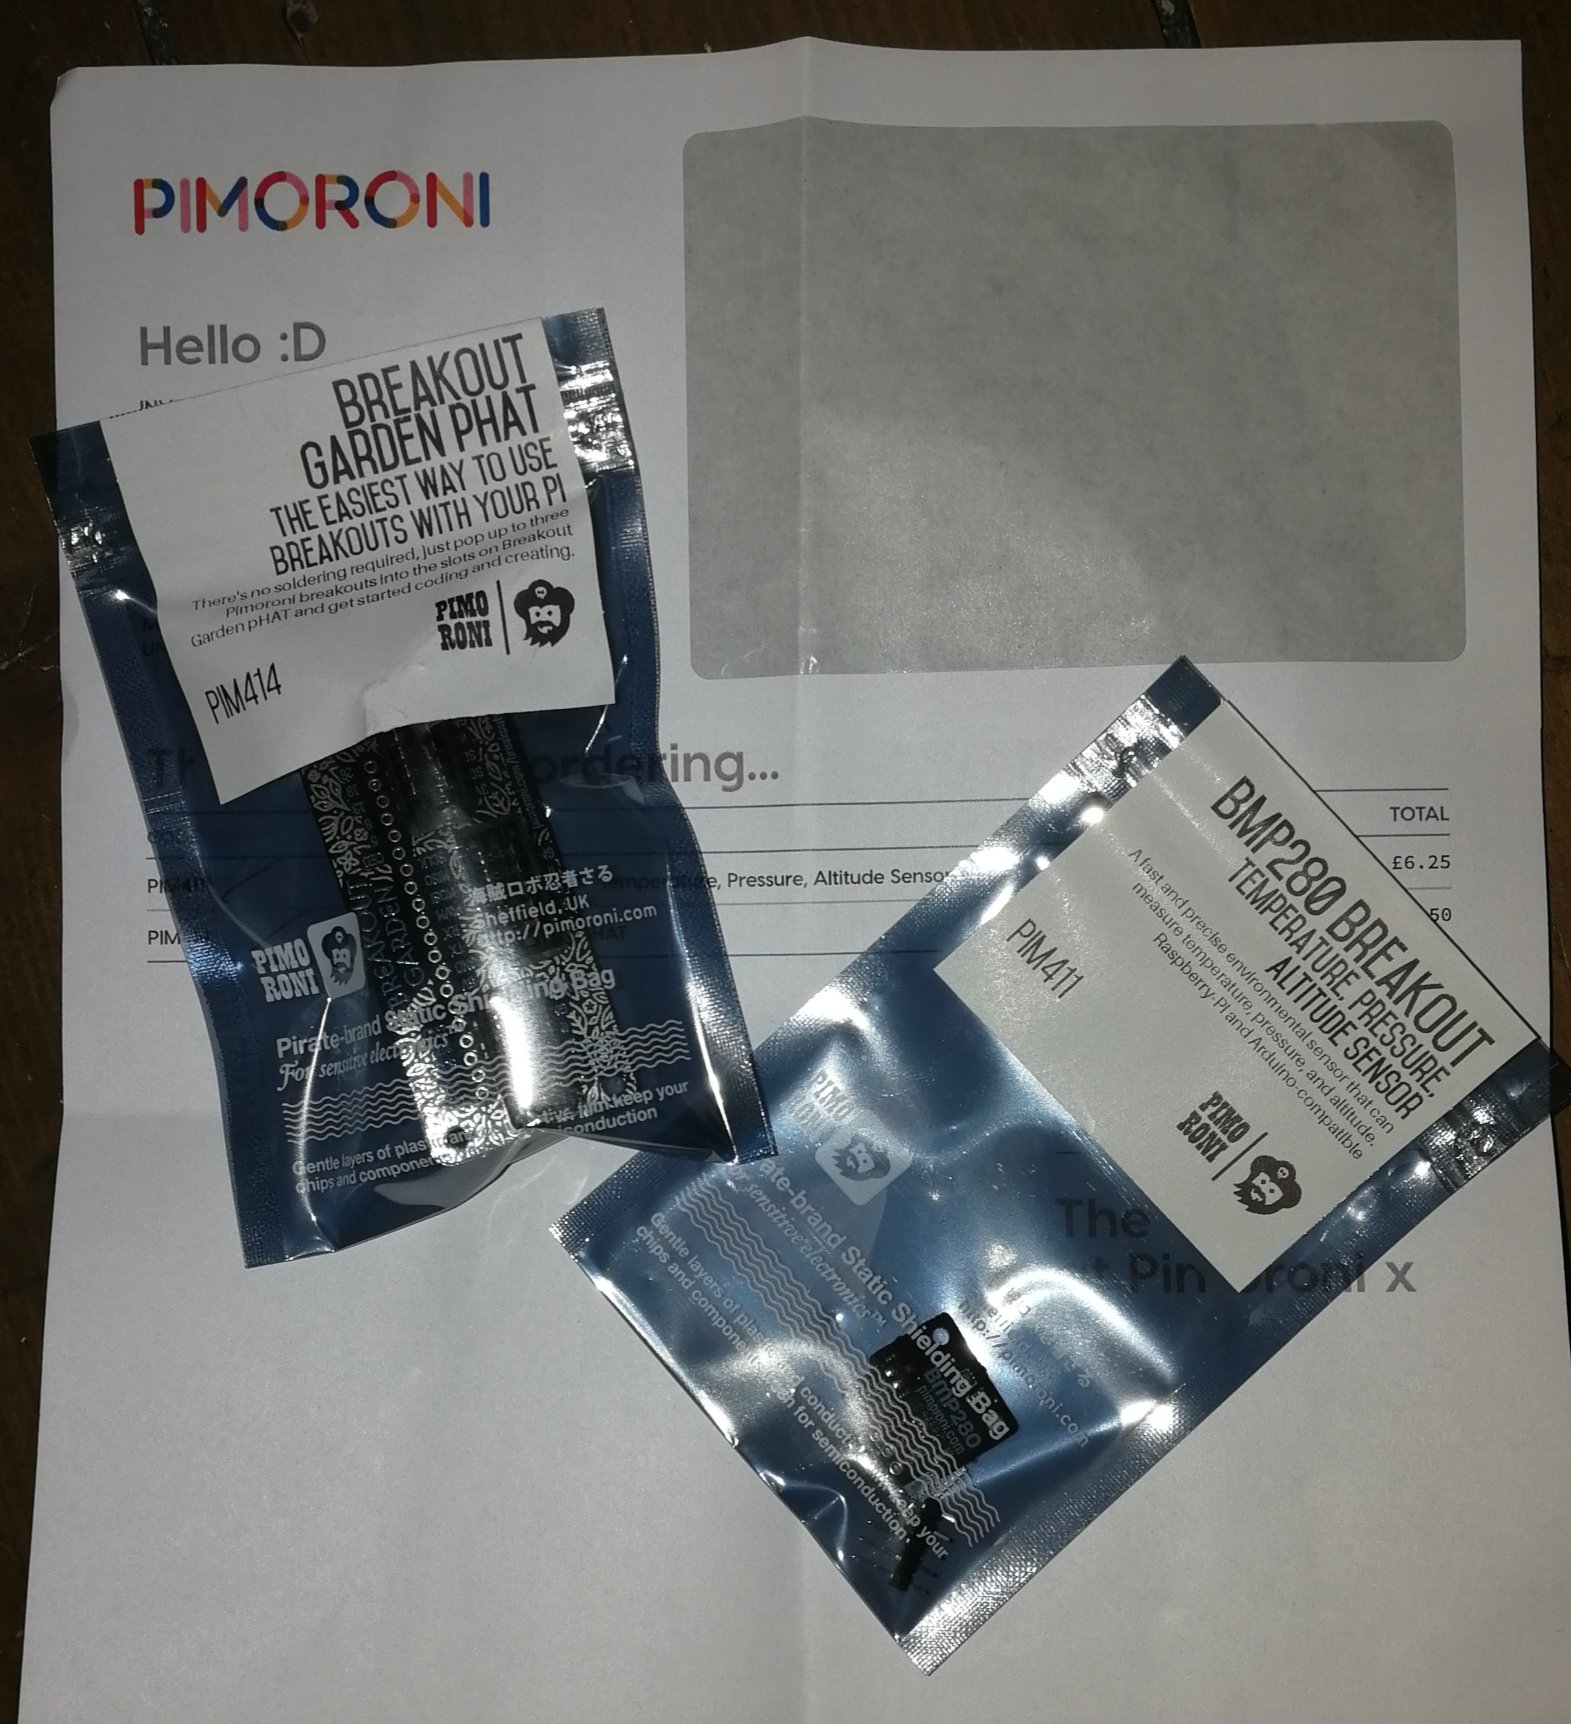
As the Breakout Garden pHAT requires no soldering it is very easy to fit, just a small push on the the Pi’s GPIO pins whist the Pi is powered off.


Pimoroni maintain an installation script (a .sh file) on their GitHub for the Breakout Garden, the script detects which sensors are plugged into the garden and activates the relevant components.

The software installation of the Breakout pHAT and sensor is again easy, using the wget command to pull down the zip of the above mentioned script and then unzipping it, and running it.


Once the script has run the Breakout Garden pHat and sensor are installed. Then it just takes a little bit of Python to get a reading from the sensor so that it can be tested:
import time
from bmp280 import BMP280
try:
from smbus2 import SMBus
except ImportError:
from smbus import SMBus
bus=SMBus(1)
bmp280 = BMP280(i2c_dev=bus)
seconds_to_run = 100
for i in range(seconds_to_run):
temperature = bmp280.get_temperature()
print(‘The temperature is {:04.1f} degrees celesuis’.format(temperature))
time.sleep(1)

The Python script above is available on my GitHub (https://github.com/geektechdude/temperature_project)


5 responses to “Raspberry Pi IoT Project: Temperature Part 2 – Testing Hardware (Raspberry Pi / Python)”
[…] the Raspberry Pi set up (see parts 1 and 2) it is time to expand the project. First up is bringing back the geektechstuff_automated twitter […]
LikeLike
[…] that the temperature sensor is taking readings and tweeting them I want to look at exporting the results another way, and what better way than a […]
LikeLike
[…] have looked at the best Raspberry Pi & sensor for my IoT Temperature Project, setup the hardware, took measurements and outputted them to a Twitter bot. Then yesterday I created an Azure IoT Hub, […]
LikeLike
[…] the Pi successfully reading temperature and pressure from the sensor, and connecting successfully to Azure it left one more step in my project – outputting the […]
LikeLike
[…] of a different hats, or phats (Pi Hats). I have used some of these options in past project (e.g. a temperature project, a countdown display) and installation of the hats is generally very easy, i.e. power off the Pi […]
LikeLike