
Amazon Web Services (AWS) can be found at http://aws.amazon.com and has a whole host of different features. This blog post will take you through launching a virtual machine instance using an Amazon Machine Image (AMI).
If you are new to AWS then you can sign up for 12 months of free-tier services, which includes some of the AMI instances.
Note: If you are not on the free-tier and don’t want to run up a bill OR don’t need the AMI afterwards then please make sure to terminate it.
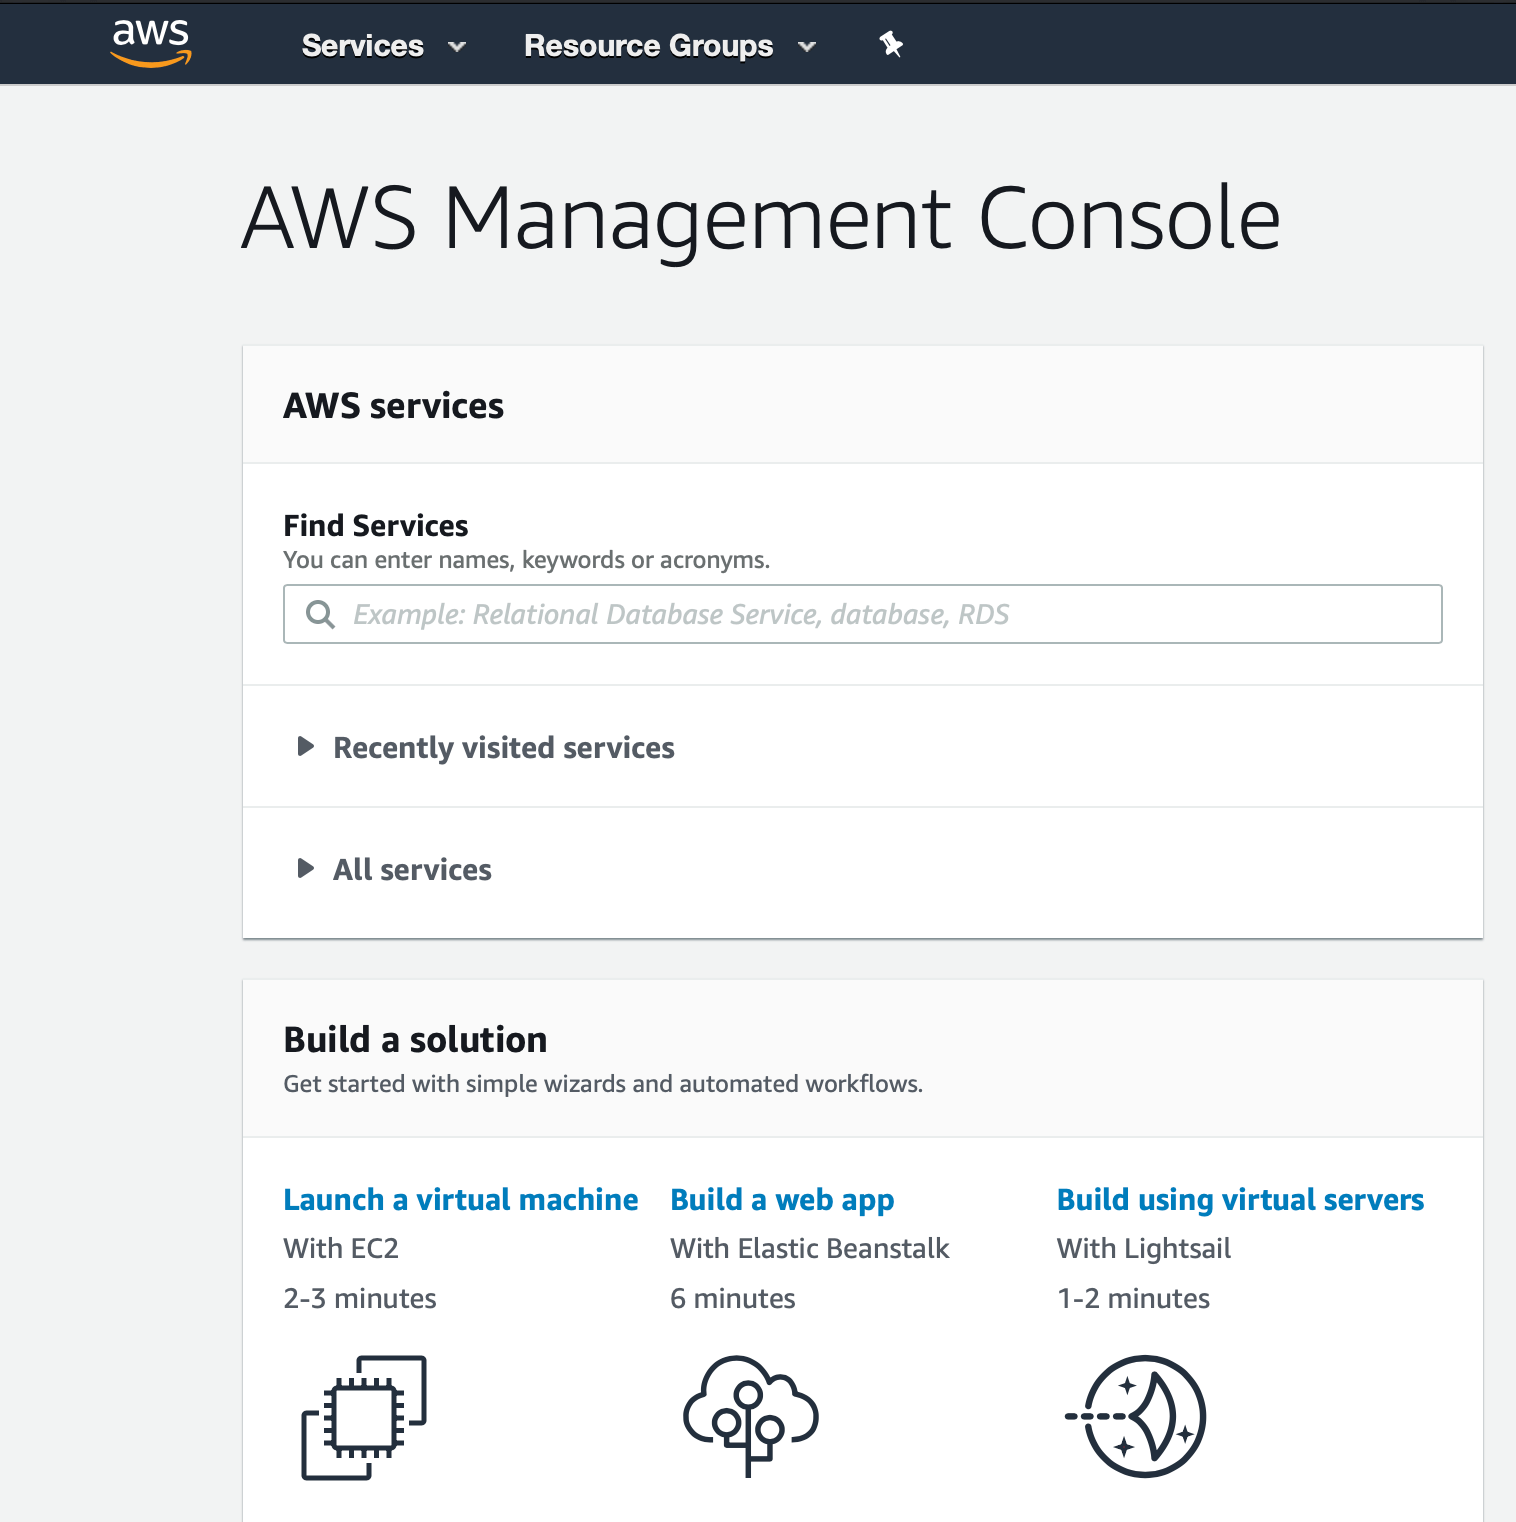
“Launch a virtual machine” is currently an option on my AWS Management Console. It is also an option under the “Services” tab at the top of the screen. EC2 stands for Elastic Cloud Compute (notice the 2 Cs).
Step 1: Choose an Amazon Machine Image (AMI)

AWS will ask which AMI (Amazon Machine Image) you want to launch an instance of. There are lots of offer here including Amazon Linux, Red Hat Linux, Ubuntu Linux and even Microsoft Windows Server options. Some of the AMIs also have options for ARM and x86. In this example I’m going to use Amazon Linux AMI 2018.03.0.
Note: Not all of these images are available on the free-tier, be careful to choose the option that is right for you.
Note: Notice towards the top right of the screen it says “N.Virginia”. Click this and you can choose to launch the AMI in a different region. Different regions have different pricing options, and sometimes different AWS server options.
Step 2: Choose an Instance Type

After choosing an AMI, AWS will ask you to choose an instance. Again, not all of these are on the free tier. There are a lot of options and they vary in performance and price. For this example I am sticking with the free-tier t2.micro.
Step 7: Review

After step 2 you can skip the remaining steps by pressing “Review and Launch” and landing on step 7. If you do this you will miss options for adding additional security, security groups and tags. My recommendation is to at least add some tags to the machine. Tagging cloud resources is very important, especially if you end up with lots of resources. Make sure you define (on paper or in your head) what you want your tags to be before you use them, and if you are in a business put a tagging policy in place so that all the cloud users now how to tag, what to tag resources as and when to tag.

Step 8: SSH Key Pair
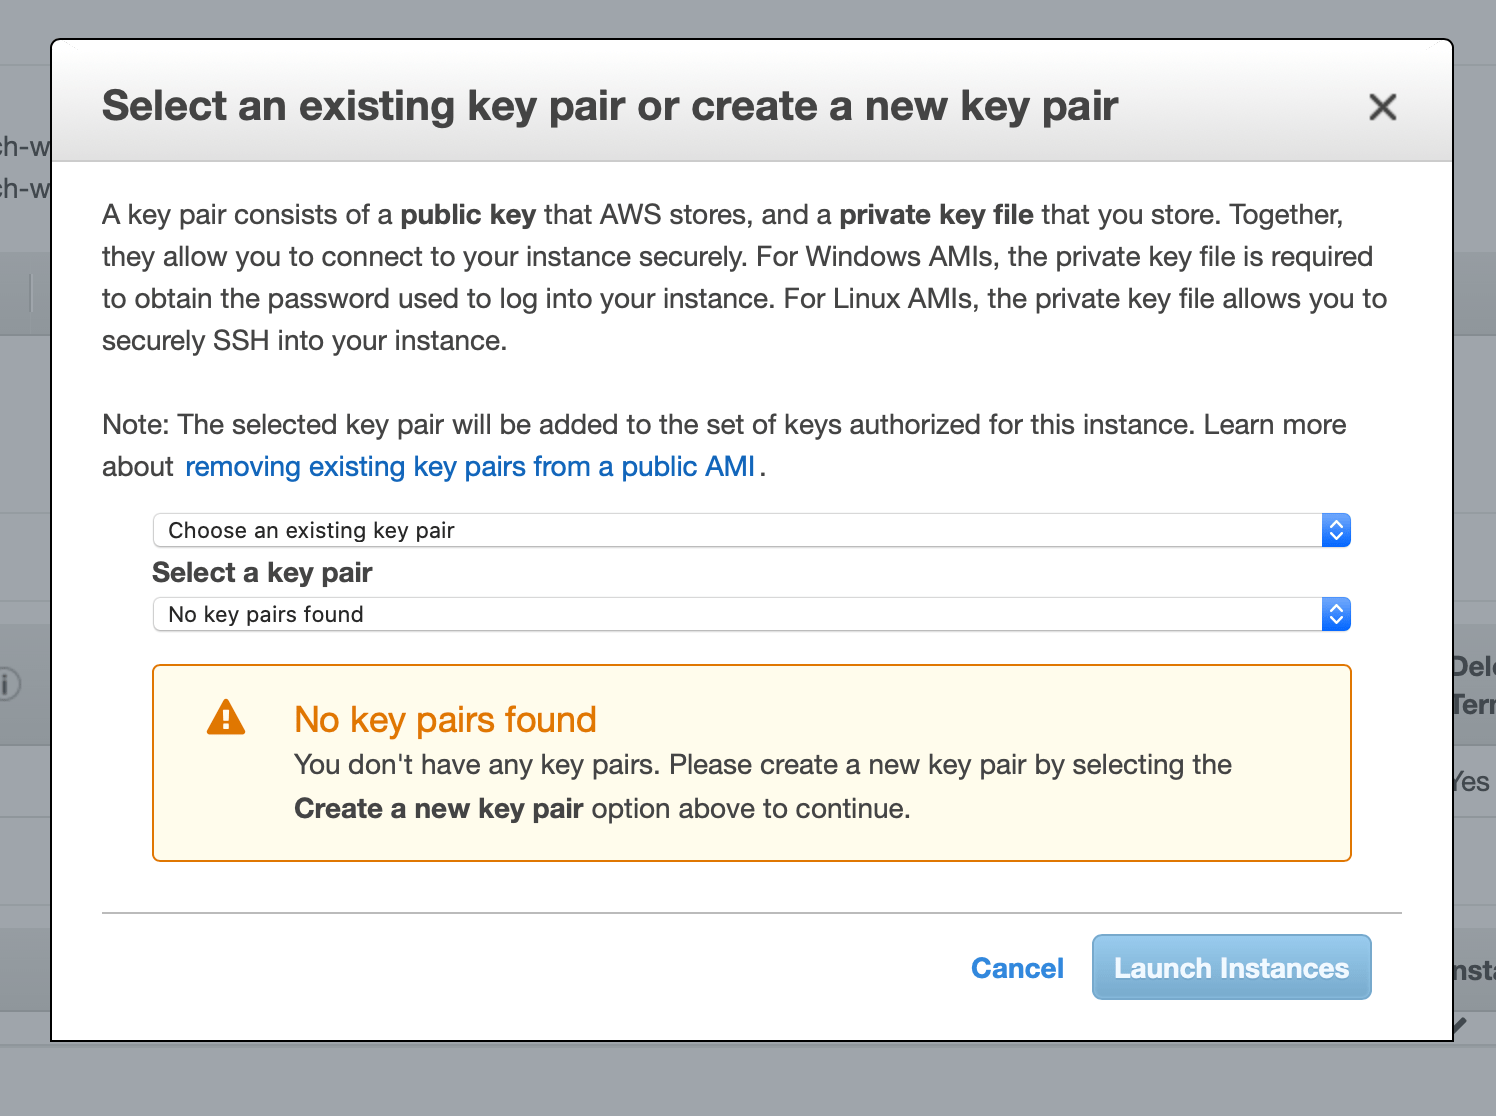
If you are using a Linux AMI then you will need the private key to be able to SSH into the AMI. If you are using Windows then the private key is need to collect the Windows password. The private key is in .pem format and should be kept in a safe location.
On the drop down choose “Create a new key pair”, give the key pair a name and then press download key pair followed by “Launch Instances”.

Once the key pair has download you will need to change permissions on it. Open a terminal (Linux/Mac OS X) on your local computer, navigate to where the .pem file download and run:
chmod 400 keypairname.pem

chmod 400 changes permission on the file to read.
Step 9: Launch Status

After launching the instance AWS will take you to the Launch Status page. It can take a few moments for the launch initiation to complete. Click the instance ID (I’ve blanked it out in the above screen shot) to be taken to the AMI management / instance screen.
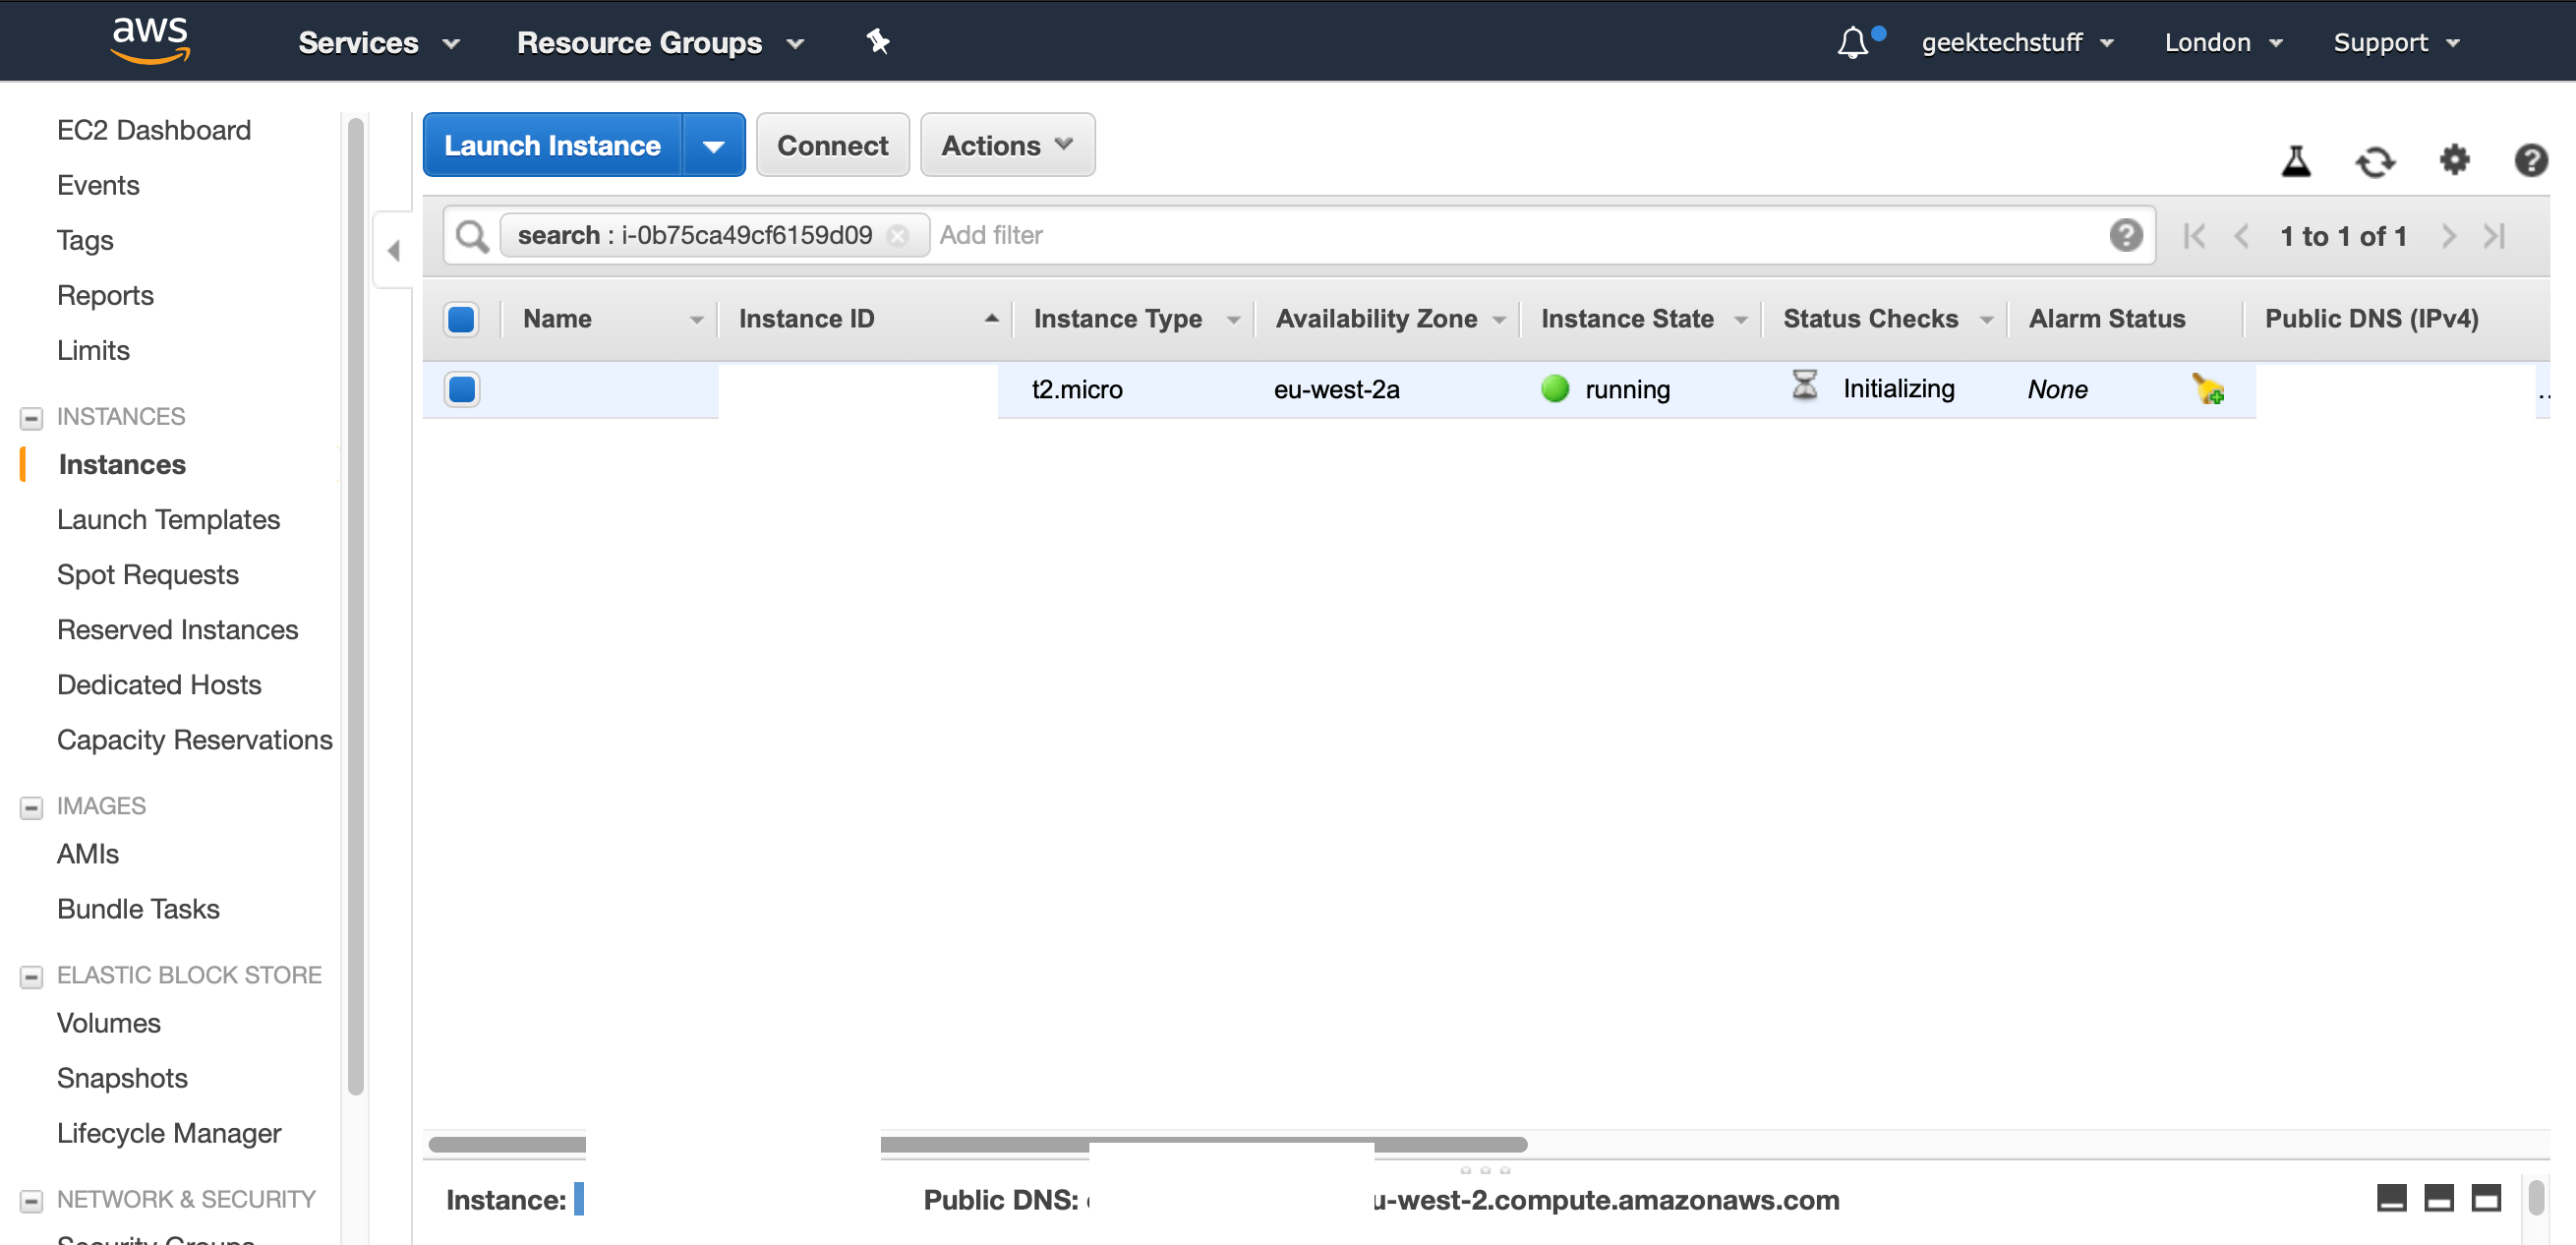
The AMI management / instance screen gives you the Instance ID and IPv4 (Public DNS) of the instance. Make a note of the IPv4 address.
Step 10: Connecting SSH

On your local device launch a terminal (Mac OS X / Linux) and start an SSH connection using:
ssh -i “keypair_name.pem” ec2-user@PUBLIC_DNS_IPV4_ADDRESS
If your keypair.pem file from step 8 is not in the same directory then either navigate to it or include the file path in the name.
SSH will ask if you want to accept the fingerprint, choose yes.

And if all goes well, you should be greeted by the Amazon Linux AMI banner.

Step 11: The End

Once you are finished with the machine, right click it on the AMI instance / management screen and choose “Instance State”. Stop shuts down the machine and will see it occurring a cost with AWS for storage. Terminate destroys the machine, erasing it from AWS. Choose wisely, if you need access to an AMI later on and you’ve destroyed your machine then you will need to start the process again and create a new machine.


2 responses to “Launching A Virtual Instance Via Web Console (AWS)”
[…] my previous blog I hinted at how important tagging is and I’ll write it again – tagging is important. […]
LikeLike
[…] far my AWS posts have dealt with launching an EC2 (Elastic Compute Cloud) instance via the AWS web management portal and installing the AWS CLI. This blog post looks at using the AWS CLI to launch an EC2 instance, […]
LikeLike