
So far my AWS posts have dealt with launching an EC2 (Elastic Compute Cloud) instance via the AWS web management portal and installing the AWS CLI. This blog post looks at using the AWS CLI to launch an EC2 instance, and then how to stop/start the instance.
First up, we need to look at what AMI (Amazon Machine Images) are available to launch, and I only want to pull back images created by Amazon. Using:
aws ec2 describe-images –owners self amazon
Pulls back a hefty list in my default output of “text”. Which can be a little hard to read through.

The output of the command can be changed using –output table:
aws ec2 describe-images –owners self amazon –output table

And to limit the number of results more filters can be added, such as limiting the AMIs shown to just ones with EBS (Elastic Based Storage).
aws ec2 describe-images –owners self amazon –output table –filters “Name=root-device-type,Values=ebs”
If you are on the free tier (or just like the AWS Linux AMI) then try:

aws ec2 describe-images –owners amazon –filters ‘Name=name,Values=amzn-ami-hvm-????.??.?.????????-x86_64-gp2’ ‘Name=state,Values=available’ –query ‘reverse(sort_by(Images, &CreationDate))[:1].ImageId’ –output text
It will return an AMI ID made up of numbers and alphabetical characters.
Before launching a new AMI instance we will need an SSH key so that can connect to the instance post launch. This can be done via the AWS CLI using:
aws ec2 create-key-pair –key-name TYPE_KEY_NAME –query ‘KeyMaterial’ –output text >TYPE_KEY_FILE_NAME.pem

Armed with the AMI ID and a key file, the instance can be created by typing in:
aws ec2 run-instances –image-id ami-XXXX –count 1 –instance-type t2.micro –key-name XXXX
Replacing the XXXX with the AMI ID and key name created above. Notice the “–count 1″ option. If you needed multiple instances you could change that count to meet the number of instances needed.

To check if the instance has launched correctly use the command:
aws describe-instances
Which will show any EC2 instances running on your AWS account and a lot of detail about the instance (including the address to connect to via SSH).

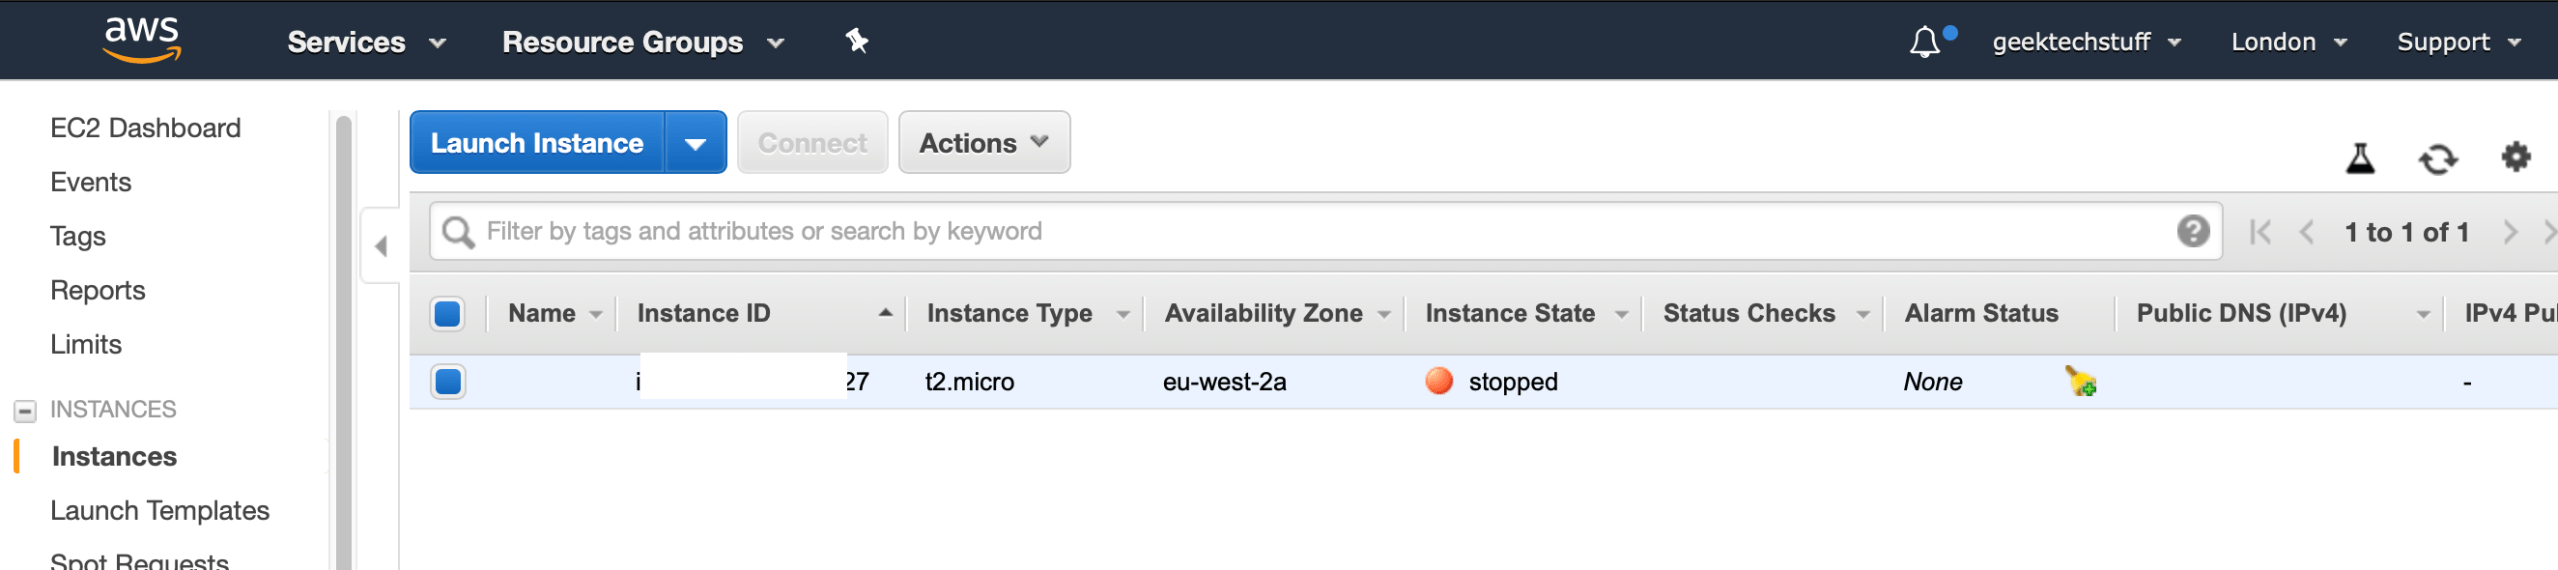
And if you are unsure, then the AWS web management console is always a good fallback. Instances created via the AWS CLI will show in the AWS web management console, and vice versa.
After creating an instance you can use it’s instance ID to power the instance off:
aws ec2 stop-instances –instance-ids XXXXX


And then you might want to power it back on again:
aws ec2 start-instances –instance-ids XXXXX

Connecting via SSH
I covered this in a previous blog post, but to recap:
On your local device launch a terminal (Mac OS X / Linux) and start an SSH connection using:
ssh -i “keypair_name.pem” ec2-user@PUBLIC_DNS_IPV4_ADDRESS
If your keypair.pem file created above is not in the same directory then either navigate to it or include the file path in the name.

SSH will ask if you want to accept the fingerprint, choose yes and you should then be connected via SSH.


You must be logged in to post a comment.