
As well as allowing for the creation of virtual computers, Virtual Box also gives several settings for virtual networks. Following on from my last blog post (here) I am now going to take a brief look at the Virtual Box network settings.
Virtual Box Network Settings
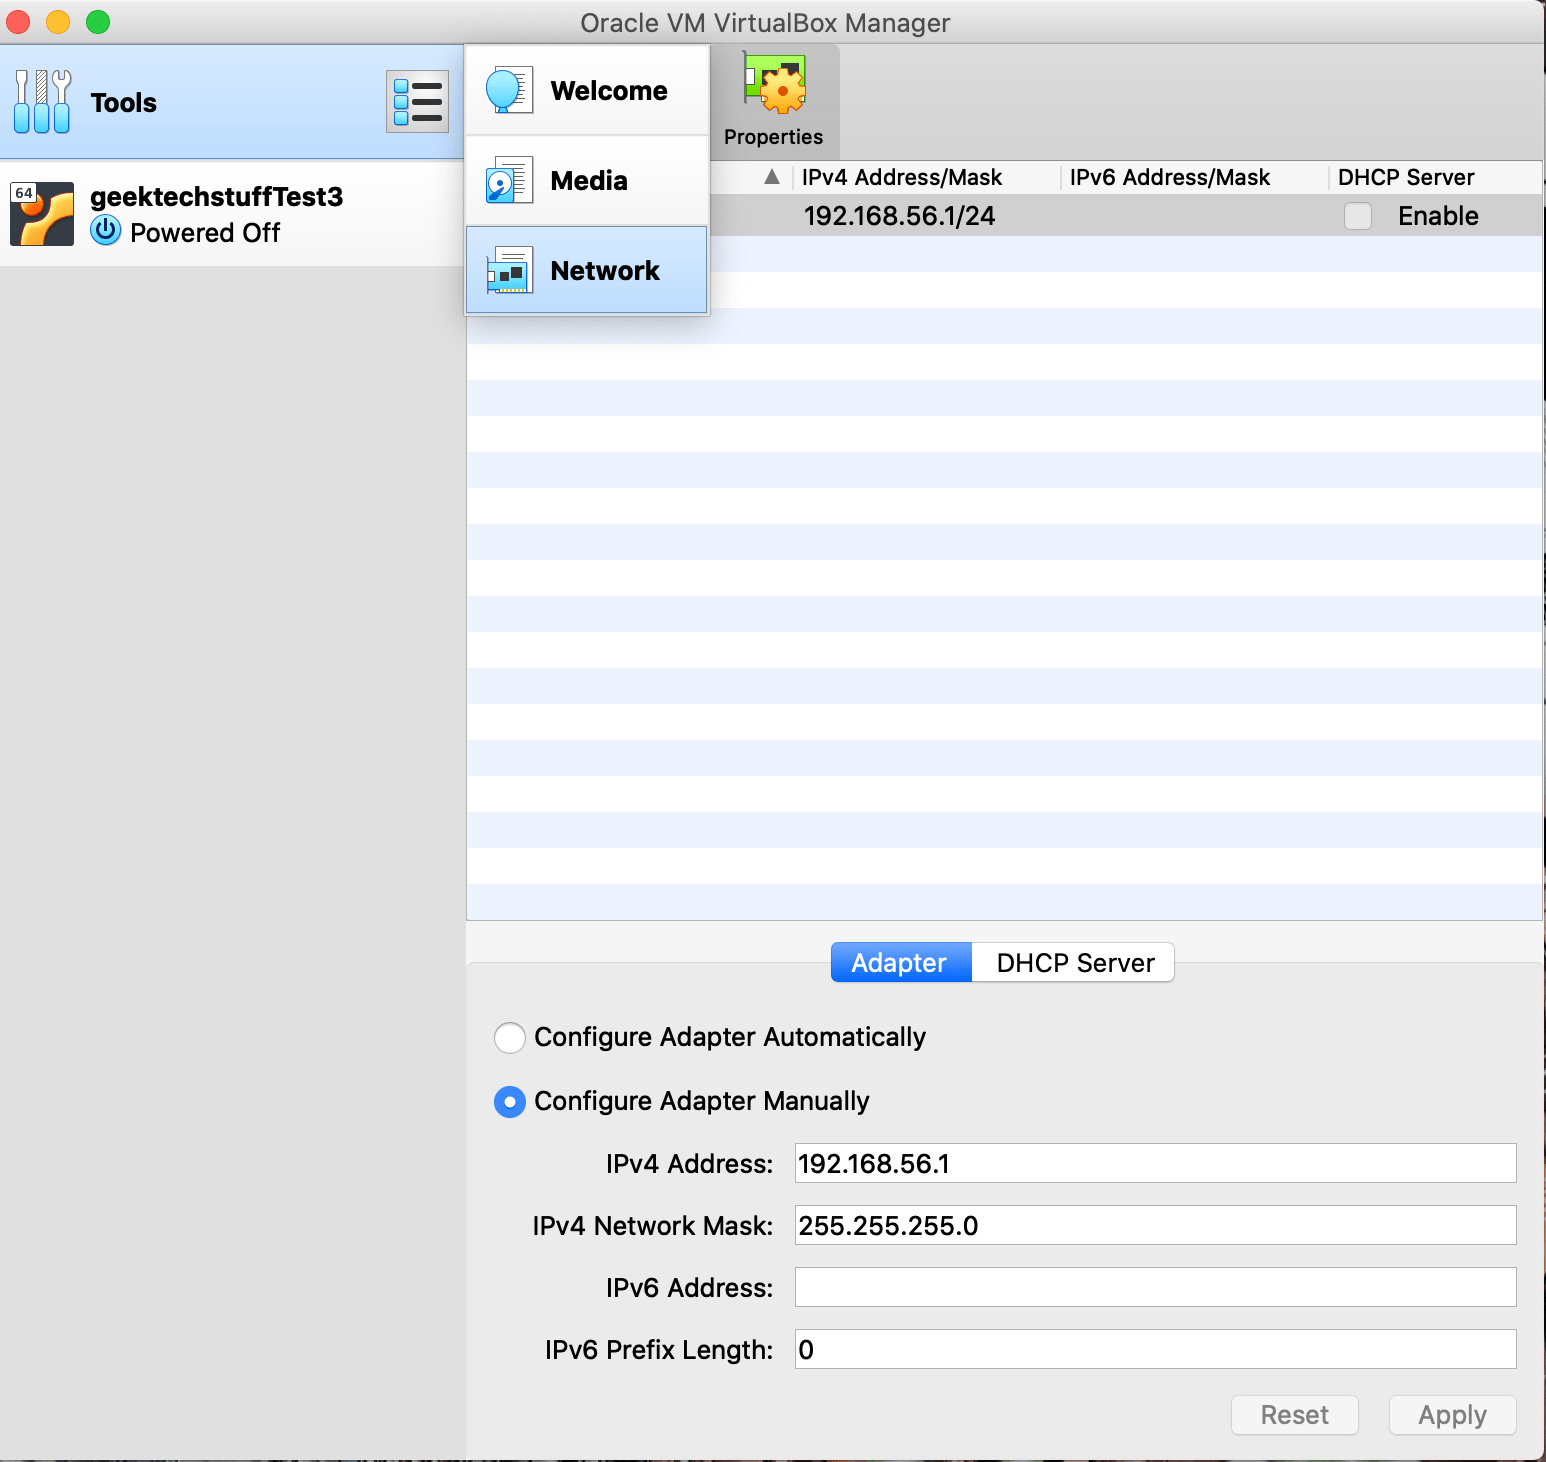
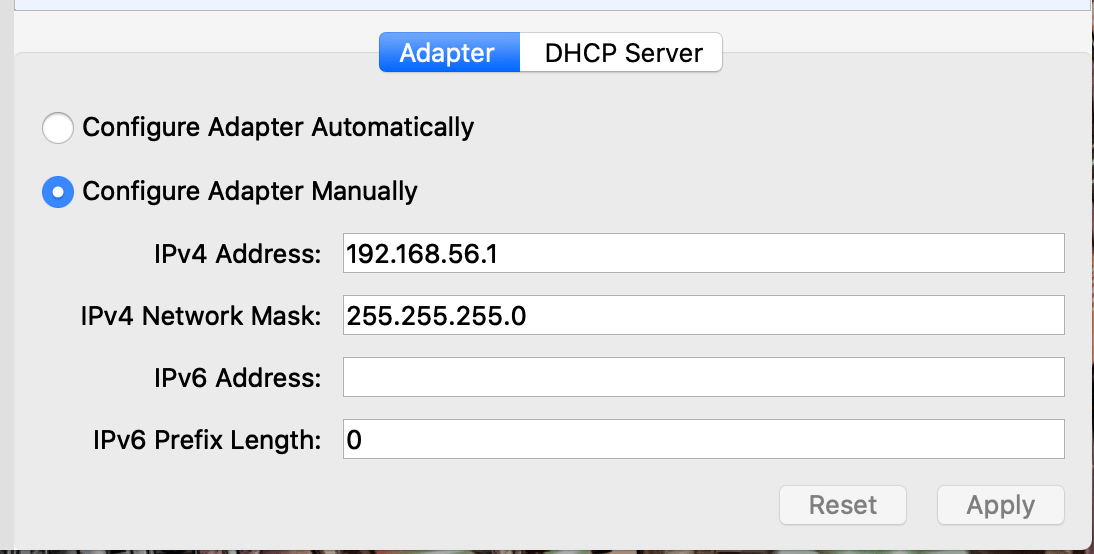
Virtual network settings can be found under the “Tools”, where a virtual network can be created, deleted or amended. Virtual Box will offer to automatically configure the adapter or you can manually enter settings (IP address and network mask).
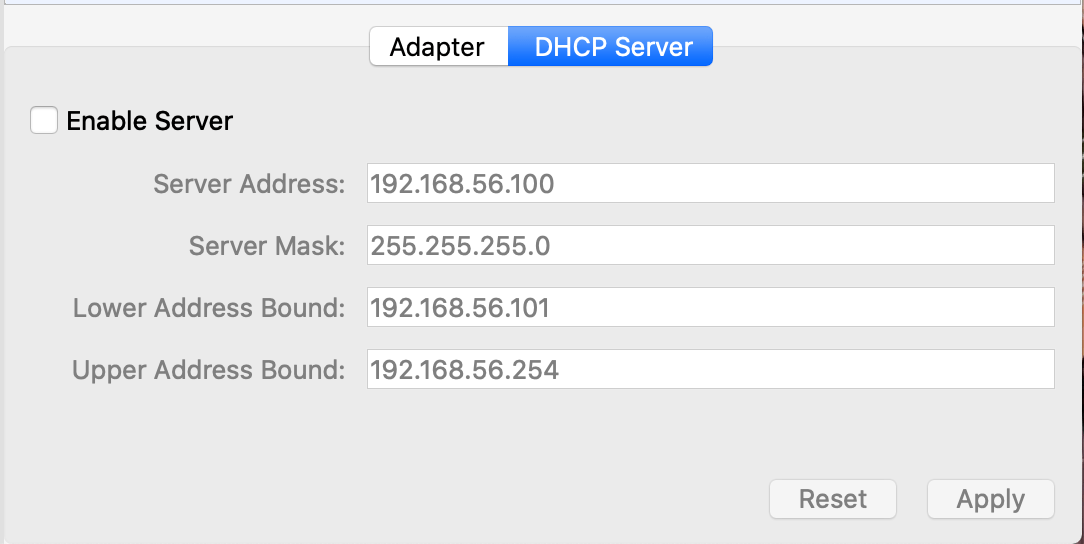
Virtual Box also offers to provide a DHCP Server, although personally I prefer leave the DHCP option off and to give boxes static IP addresses.
Host-only Adapter
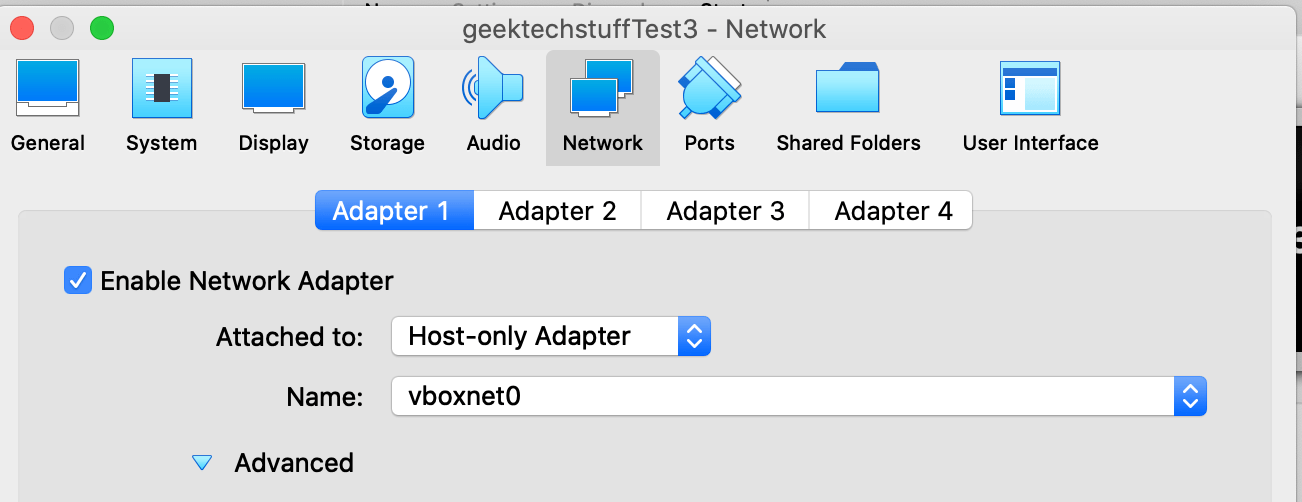
If a virtual network has been created then the virtual computer can be connected to it by using the “Network” option under the computers settings and choosing “Host-only Adapter”. If multiple virtual networks have been created (maybe you want different networks for different virtual computers to simulate vlans) then make sure to choose the appropriate network from the “Name” drop down options. Any virtual computers on the same “host-only adapter network” will be able to speak to the host computer and each other.
NAT
NAT (Network Address Translation) allows a virtual machine’s IP address to be mapped onto the host machines IP address. This allows the virtual machine to send traffic via the host computer whilst also segmenting it.
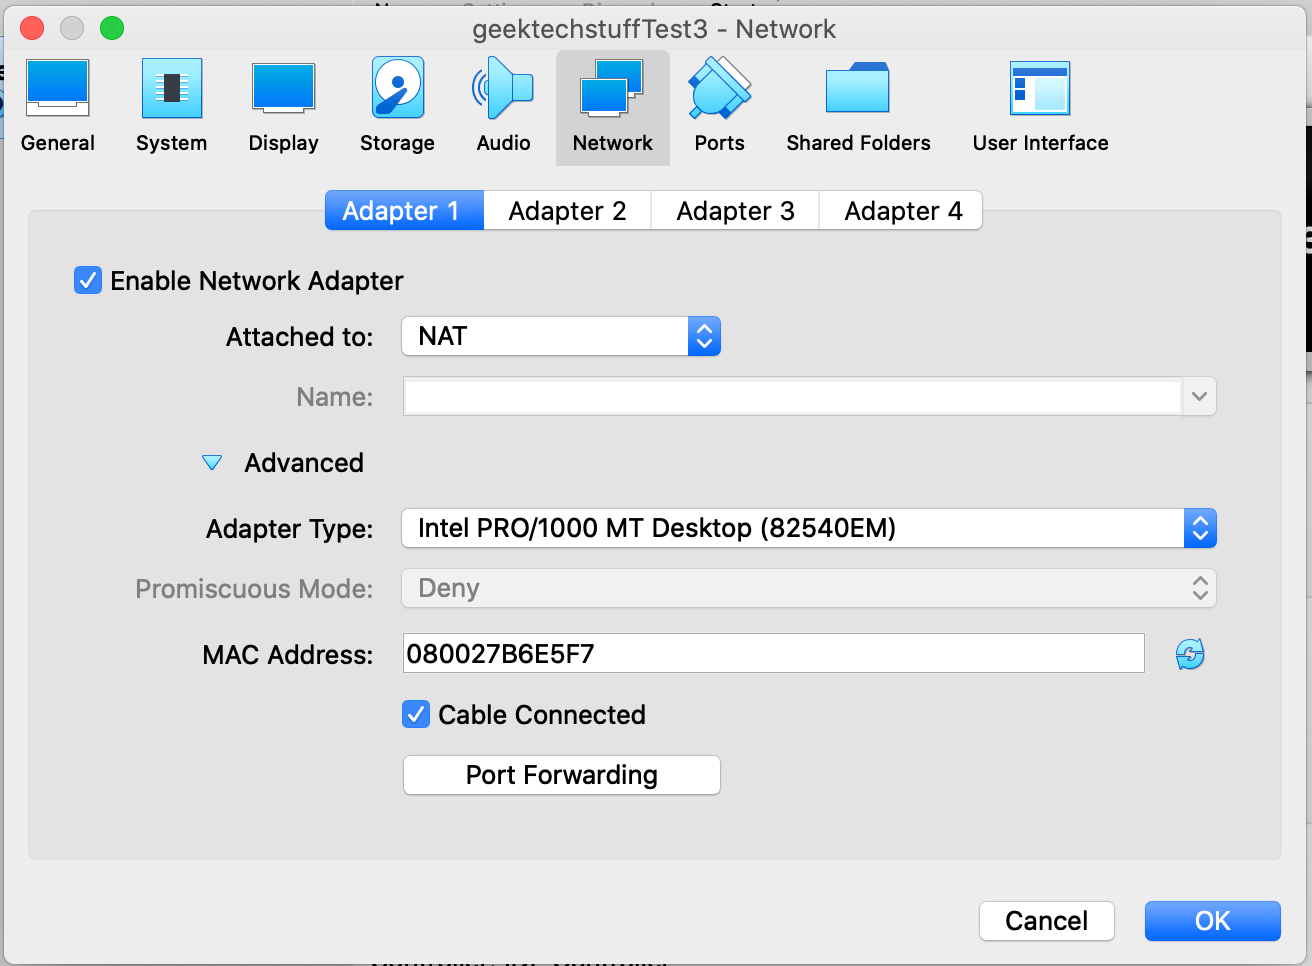
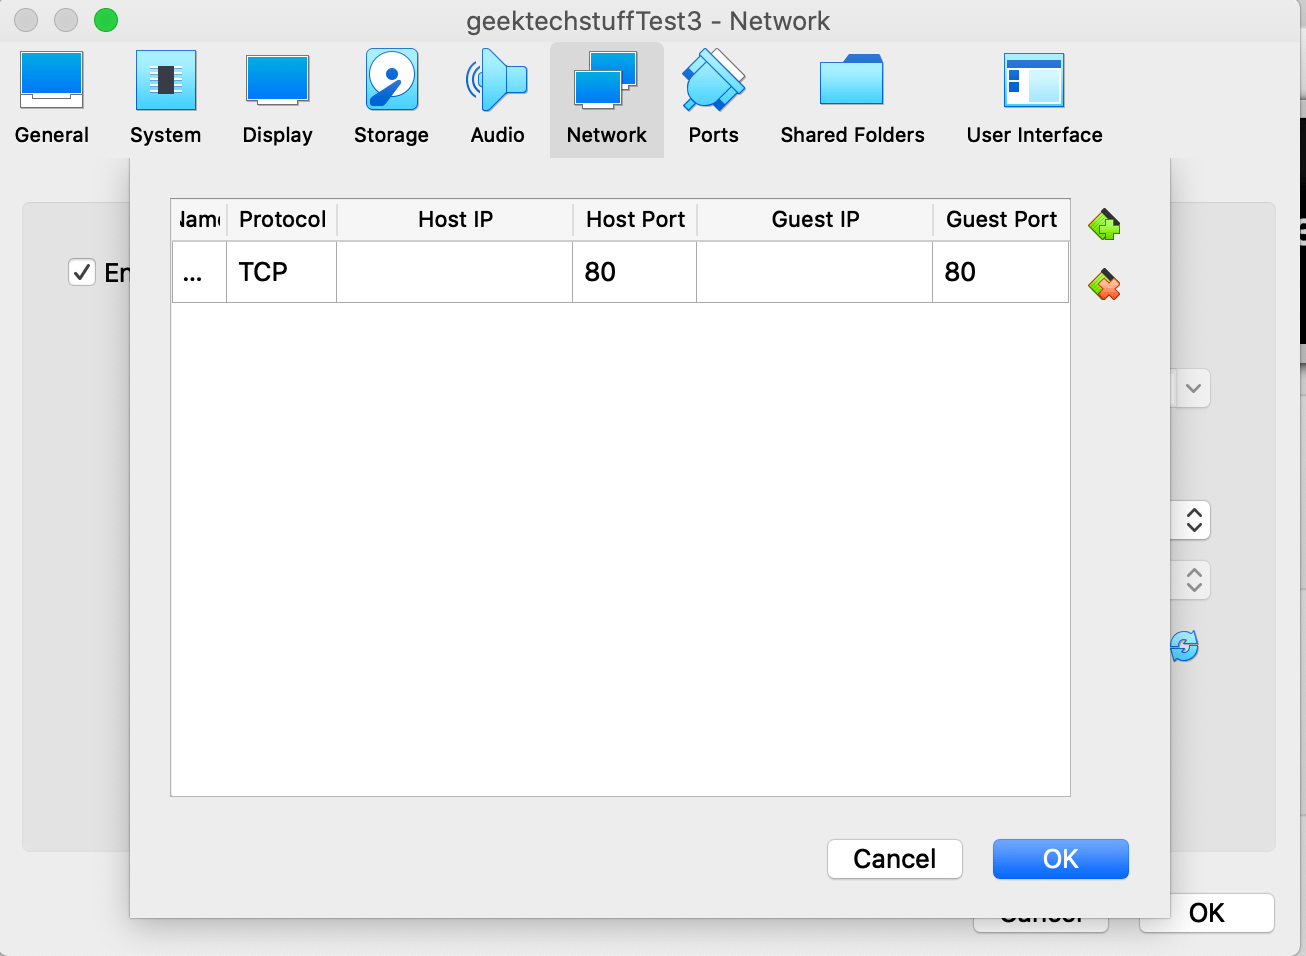
However if the virtual computer is running a service (e.g. Apache on port 80) then the port forwarding option can be enabled so that any traffic sent via port 80 is mapped back to the virtual computer.
Bridged Network
Virtual Box uses a driver on the host to create a new interface via the network card, inject and retrieving data directly from the network card. This potentially allows a packet sniffer / collection tool (such as WireShark) to be connected to collect packets.
Internal Network
Like bridged networking, however the traffic between the virtual machines is hidden from the host computer.
Scripting Virtual Box
I am currently looking at creating scripts (via bash) to create virtual computers in Virtual Box. I will store these scripts in my GitHub at https://github.com/geektechdude/Virtual_Box
So far I have one script (virtual_create.sh) that takes advantage of Virtual Boxes Unattended mode to install an operating system (Ubuntu via an ISO).
#!/bin/bash
VBoxManage createvm –name geektechstuffTest3 –ostype Ubuntu_64 –register
sleep 3
VBoxManage modifyvm geektechstuffTest3 –cpus 2 –memory 4096 –vram 64
sleep 3
VBoxManage createmedium disk –filename geektechstuffdisk3 –size 15000
sleep 3
VBoxManage storagectl geektechstuffTest3 –name “SATA Controller” –add sata –bootable on
sleep 3
VBoxManage storageattach geektechstuffTest3 –storagectl “SATA Controller” –port 0 –device 0 –type hdd –medium geektechstuffdisk3.vdi
sleep 3
VBoxManage storagectl geektechstuffTest3 –name “IDE Controller” –add ide
sleep 3
VBoxManage unattended install geektechstuffTest3 –iso=ubuntu.iso –user=geektechstuff –password=password –full-user-name=geektechstuff –country=UK –time-zone=GMT –hostname=test.geektechstuff.com –start-vm=headless
sleep 3
The sleep commands are in place whilst I check the script is running correctly, and it requires the Ubuntu ISO to be named ISO and in the same location to where the script is running from – adjustable if the –iso=ubuntu.iso is changed to the full folder/file path.


You must be logged in to post a comment.